openSUSE Tumbleweed Setup Guide
A friendly setup guide for openSUSE on ASUS laptops
Newcomers should start by reading the Intro guide.
Warning
This page will not be updated directly by the core team; this guide has been updated by the community on Discord. If there are any issues with the openSUSE documentation, feel free to contribute.
Contents
About openSUSE Tumbleweed
openSUSE Tumbleweed is a rolling release distribution and should be chosen over openSUSE Leap. Tumbleweed gives users access to the latest software packages and updates, providing better compatibility with ASUS laptops than Leap. However, users with newer laptop models may run into issues. Please see the Considerations section for more details.
All updates to the official repos are incorporated into snapshots and tested with openQA prior to release. This means that Tumbleweed is slightly behind a bleeding-edge distro, such as Arch, but that all updates to the official repos are thoroughly tested.
KDE Plasma is the flagship openSUSE Tumbleweed Desktop Environment. The installer also supports GNOME, Xfce, and many others (including Window Managers).
Considerations
Users coming from other distributions may run into issues when using Tumbleweed due to its default settings. This guide attempts to point out some of these within the relevant sections. A few general items that a user should be aware of before trying openSUSE are:
- Custom kernels are difficult with openSUSE. This means the rog/asus-kernel is not supported. Newer laptops will need to wait until any required patches are merged from the rog/asus-kernel into the upstream kernel.
- The package manager is
zypper, which is RPM-based and relatively similar to Fedora’sdnf. The Arch wiki provides a helpful table comparing common package manager commands. zyppershould be used to install packages instead of YaST, KDE Discover, or GNOME Software. These GUI tools may still be useful for flatpaks and searching, but do not use them to install other packages.- Occasional mirror issues, while rare, do exist. Workarounds are required to continue updating the system and installing packages.
- Package updates in Tumbleweed are performed through
zypper dup(dist-upgrade), notzypper up(update). For more information, see the openSUSE wiki. - OpenSUSE is not as widely used as Fedora or Arch, so some software may not be available. Flatpaks, the Open Build Service, and third-party repositories help alleviate this issue. Note that only official packages are tested as part of the Tumbleweed openQA testing.
- OpenSUSE uses the concept of patterns, which include base and recommended software packages. These patterns may result in packages being re-installed, even if you specifically removed them. More information is available on the openSUSE user documentation project.
- OpenSUSE community websites may provide “one-click installers”, which can cause more trouble than they’re worth. Avoid using these.
- OpenSUSE provides excellent support for the btrfs file system, and supports automatic bootable btrfs snapshots out of the box.
- OpenSUSE provides the YaST GUI tool for system management. YaST is polarizing, but may be helpful for new users to get a better idea of the system configuration. Many operations should still be performed via the terminal instead.
- asusctl is packaged for openSUSE Tumbleweed in the Tuatara repository, the openSUSE counterpart of the Terra repository. If the repository stops generating new packages, the best thing you can do is report the issue; or, if you can fix it, it would be best if you became a package maintainer.
Preparations
Prior to installation of openSUSE Tumbleweed, follow the preparations in the Prerequisites guide. The list below gives a summary of the important subsections to review.
- Backup Proprietary eSupport Drivers Folder - Backing up the proprietary ASUS drivers.
- Disable Secure Boot - Disabling secure boot for compatibility with the proprietary Nvidia drivers.
- Use the Laptop Screen - Background on installation problems that may arise due to external screens.
Installation
Installation Media
The openSUSE Tumbleweed website contains all of the installation images. The offline image is much larger than the network image, but allows installing all packages included without an internet connection. All of the packages will be dated to when the offline image was created. The net installer will pull the latest packages from the openSUSE repositories. It is possible to do this in the offline installer by connecting to the internet and enabling the internet repositories.
Live images also exist on the openSUSE Tumbleweed website. These are located under the Alternative Downloads link on the page. These Live images are similar to what users are used to with other distributions. Live images should be safe for most users. However, the openSUSE Tumbleweed website and openSUSE User Documentation Project warn that issues may occur when installing with a Live image. Please review these warnings on the associated links prior to continuing.
Installing openSUSE Tumbleweed
- Download the chosen ISO file from the openSUSE Tumbleweed website and write it to a USB stick. The network and Live ISOs requires a fast internet connection due to the number of downloads.
Note
Ventoy has known issues and is not considered supported by openSUSE. It can be used, but manual intervention is required after installation.
-
The online repositories can be enabled with the offline ISO to pull the latest packages. The network ISO does this automatically.
-
Follow the steps of the installer, choosing a partitioning scheme and Desktop Environment.
-
The final Summary page allows disabling Secure Boot, if it will not be used, and allows customizing the Software that will be installed.
-
The system will automatically reboot after installation.
-
At the grub menu after reboot, press the E key to modify the boot parameters. Nvidia users should add
modprobe.blacklist=nouveauto the Kernel command line arguments to ensure the Nouveau drivers do not cause issues.
Note
If Ventoy was used, the Kernel command line arguments may contain
rdinit=/vtoy/vtoy. This MUST be removed as it will prevent the system from booting. Include this change in the step below.
-
Once the system boots, log in and make any necessary changes to the
GRUB_CMDLINE_LINUX_DEFAULTparameter in/etc/default/grub. -
Regenerate grub to prevent repeating the previous steps on every boot.
sudo grub2-mkconfig -o /boot/grub2/grub.cfg
Setup
Notes on Btrfs Snapshots
It is helpful to take snapshots throughout the setup process if using the btrfs filesystem. Pre and post snapshots are automatically taken when installing and updating packages. The “openSUSE-style” snapshots allow booting into the last-known working state through the grub menu. The system will boot into a read-only filesystem based on the chosen snapshot, which the user can explore to ensure the system is working. The system can be restored to the snapshot using the command snapper rollback. More information is available on the openSUSE user documentation project.
Remove the Installer ISO Repository
The openSUSE installer automatically adds a repo entry for the installation media. This feature is more geared toward offline or enterprise systems, not personal devices. Removing the repository will ensure that updates will not fail if the installation media is not found. Command line is the preferred method of removal, but the YaST GUI can be used.
- List the currently active repositories:
sudo zypper lr -d
-
From the outputs, identify the repo number that corresponds to the installation media. The offline image will likely have DVD in the title. The network image should include a date in the title.
-
Disable the repo, replacing
#with the number identified from the previous steps:
sudo zypper mr -d -F #
- Remove the repo, replacing
#with the number identified from the previous steps:
sudo zypper rr #
- Force a refresh of the repositories:
sudo zypper ref -f
Update the System
- Refresh the repositories:
sudo zypper ref
- Update the system via dist-upgrade (dup):
sudo zypper dup
Adding the wheel group
By default, openSUSE does not automatically add the user to the wheel group. This prevents asusctl and ROG Control Center accessing DBus when run with user privileges. The resulting error messages are similar to Error: org.freedesktop.DBus.Error.AccessDenied. Additionally, the default setup requires the root password when a user runs sudo. This may cause confusion if the user is coming from other distributions. The openSUSE wiki has a guide for setting up sudo behavior in a way that users may be more familiar with.
- Open the terminal and switch to the root user:
su
- The wheel group should be present by default, but can be verified with:
grep ^wheel /etc/group
- If the wheel group is somehow not present, add it:
groupadd wheel
- Add a user to the wheel group, replacing USERNAME with the desired user:
usermod -aG wheel USERNAME
- Optionally, verify the user was added to the wheel group, replacing USERNAME with the desired user:
id USERNAME
- Log out or restart for the changes to apply.
Third Party Repositories
The official openSUSE repositories have many restrictions due to strict copyright and IP laws. Third party repositories contain additional packages that are not or cannot be included in the openSUSE OSS and non-OSS repos. Using dependencies from multiple repositories may result in instability and issues. To avoid this, it is recommended to change the vendor for packages to the third party repositories being used. The openSUSE wiki has a guide for setting up commonly used third party repos. Note that only the official repos are included in the openQA testing, so it will not catch any issues related to the additional packages.
All repos use priorities (higher number = lower priority). The official repos are added with the priority of 99 (default). Adding third party repos with a lower number results in packages being installed from them, if available.
Install Nvidia Graphics Drivers
A guide to installing the proprietary Nvidia drivers can be found on the openSUSE wiki. Verify the numbering scheme for the Nvidia card using the instructions on the wiki. The instructions below show how to install the current G07 series, for newer devices. The older G06 series is now considered legacy.
-
Open the file
/etc/zypp/zypp.conf. -
Ensure the following line is not commented out:
multiversion = provides:multiversion(kernel)
- The Nvidia repository is usually added automatically during installation (package
openSUSE-repos-Tumbleweed-NVIDIA). If it is missing, add it with auto-refresh and a non-default priority (e.g., 90):
sudo zypper ar --priority 90 --refresh https://download.nvidia.com/opensuse/tumbleweed NVIDIA
- For GPUs supported by the open source module, install the
nvidia-open-driver-G07-signed-kmp-metapackage. Otherwise, install the proprietary driver withnvidia-driver-G07-kmp-meta, which should result in all needed packages being installed:
sudo zypper in nvidia-open-driver-G07-signed-kmp-meta
- Search for G07 to verify the additional packages (e.g.,
nvidia-glG07) were installed:
zypper se G07
-
If matching G07 Nvidia packages do not have an
iori+next to them, install them. -
Note that the driver installation process may take 10+ minutes.
-
After installation, one can verify the driver version:
sudo modinfo -F version nvidia
- Reboot the system.
Update System Boot Configuration for Nvidia
-
The Nvidia driver installation should handle adding the required Kernel command line arguments.
-
If issues are encountered, try adding the following to GRUB_CMDLINE_LINUX in
/etc/default/grub:
modprobe.blacklist=nouveau rd.driver.blacklist=nouveau nvidia-drm.modeset=1
- After the modifications, regenerate grub with:
sudo grub2-mkconfig -o /boot/grub2/grub.cfg
Asus-Linux Software
Adding the Tuatara Repository
Tuatara is the openSUSE counterpart of the Terra repository, providing packages for ASUS laptops including asusctl and the ROG Control Center.
Note
Tuatara currently supports openSUSE Tumbleweed only. If your system releasever is not
tumbleweed(but compatible with it), replace$releaseverin the following command withtumbleweedmanually.
# add the repository and install asusctl
sudo zypper install --plus-repo 'https://repos.fyralabs.com/tuatara-$releasever' tuatara-release

# refresh the repositories and install asusctl
sudo zypper refresh
sudo zypper install --allow-vendor-change asusctl
Asusctl
- The tlp software is known to conflict with power-profiles-daemon and should be removed. It is installed with the default openSUSE installer settings.
sudo zypper rm tlp
- Next, install asusctl:
sudo zypper in asusctl
Important
Power profiles:
asusdmanages platform profiles and CPU EPP settings itself via the ACPIplatform_profileinterface. Running an external power profiles daemon (such aspower-profiles-daemonortuned) alongsideasusdcan cause race conditions over/sys/firmware/acpi/platform_profileand CPU EPP preferences. You have two options:
- Let
asusdmanage profiles and disable the external daemon:sudo systemctl disable --now power-profiles-daemon.service
- Keep the external daemon and disable
asusd’s profile management by setting the following tofalsein/etc/asusd/asusd.ron:change_platform_profile_on_ac: false, change_platform_profile_on_battery: false, platform_profile_linked_epp: false,A common way to switch profiles is binding the
Fn+F5key toasusctl profile nextAvailable profiles vary by system, seeasusctl profile list.
- Either restart the system, or run the following command to immediately begin using asusctl:
sudo systemctl start asusd
- Note that due to the difficulty of custom kernel support on openSUSE Tumbleweed, features for the newest laptop models may not always work.
ROG Control Center
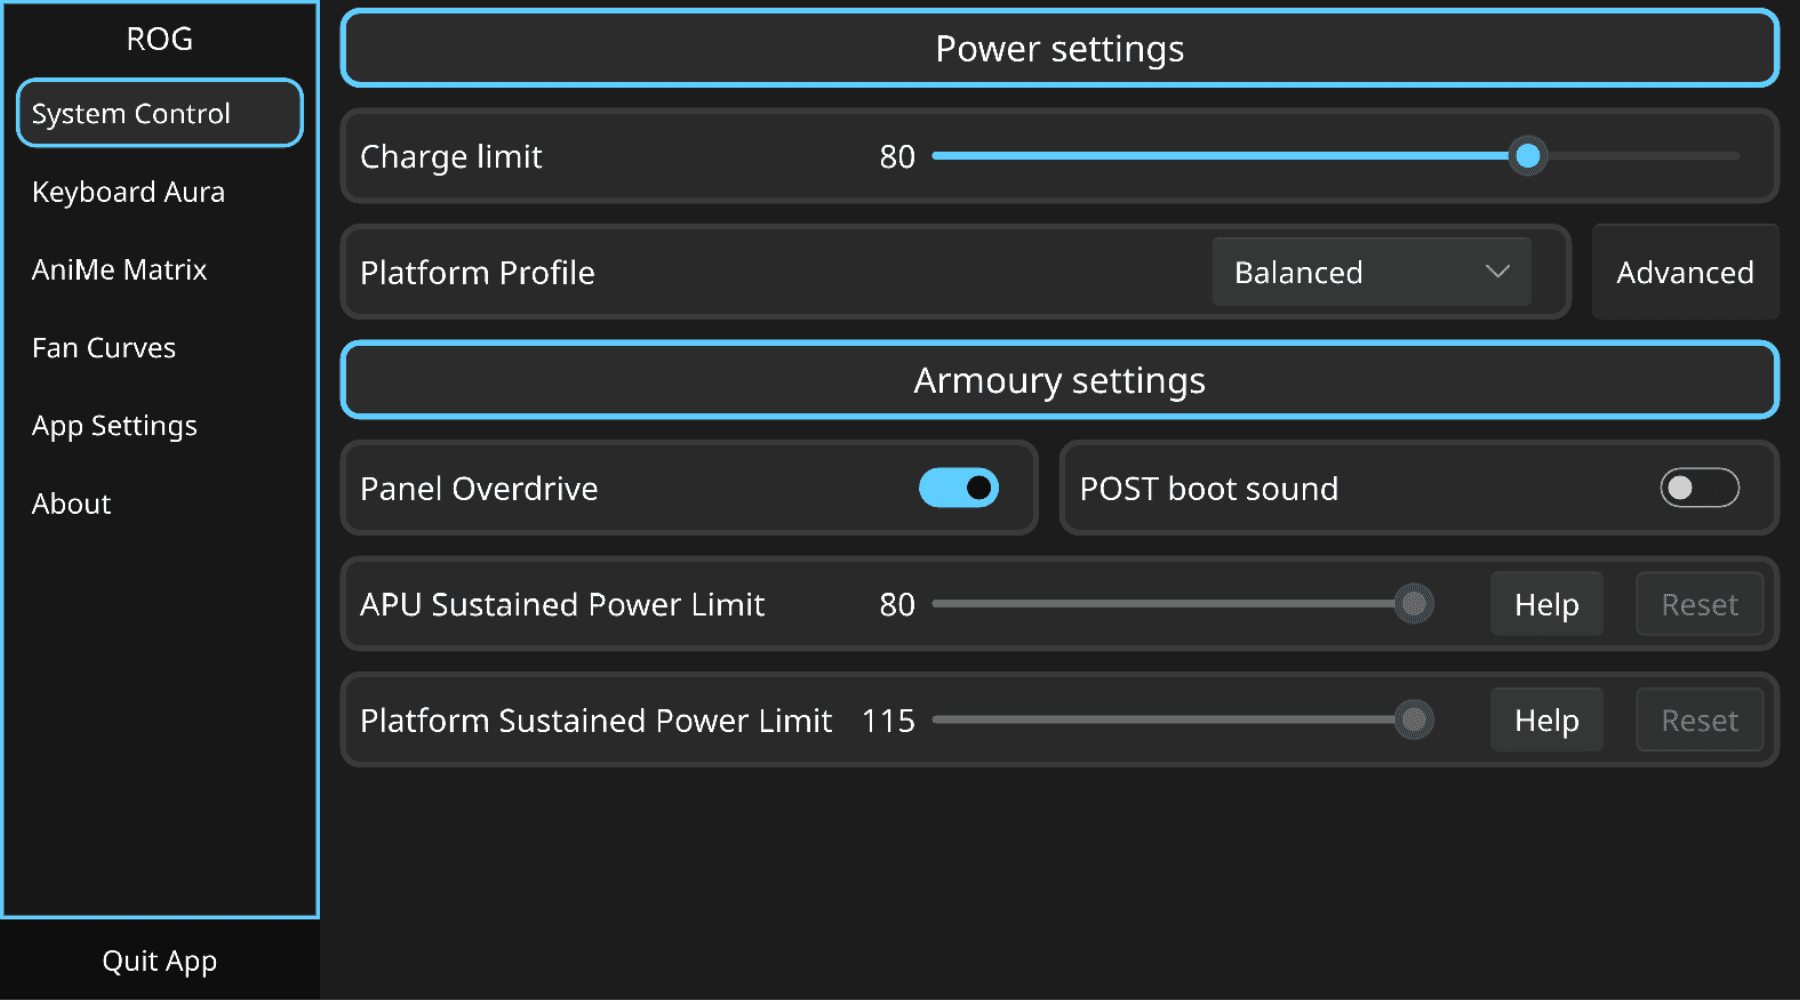
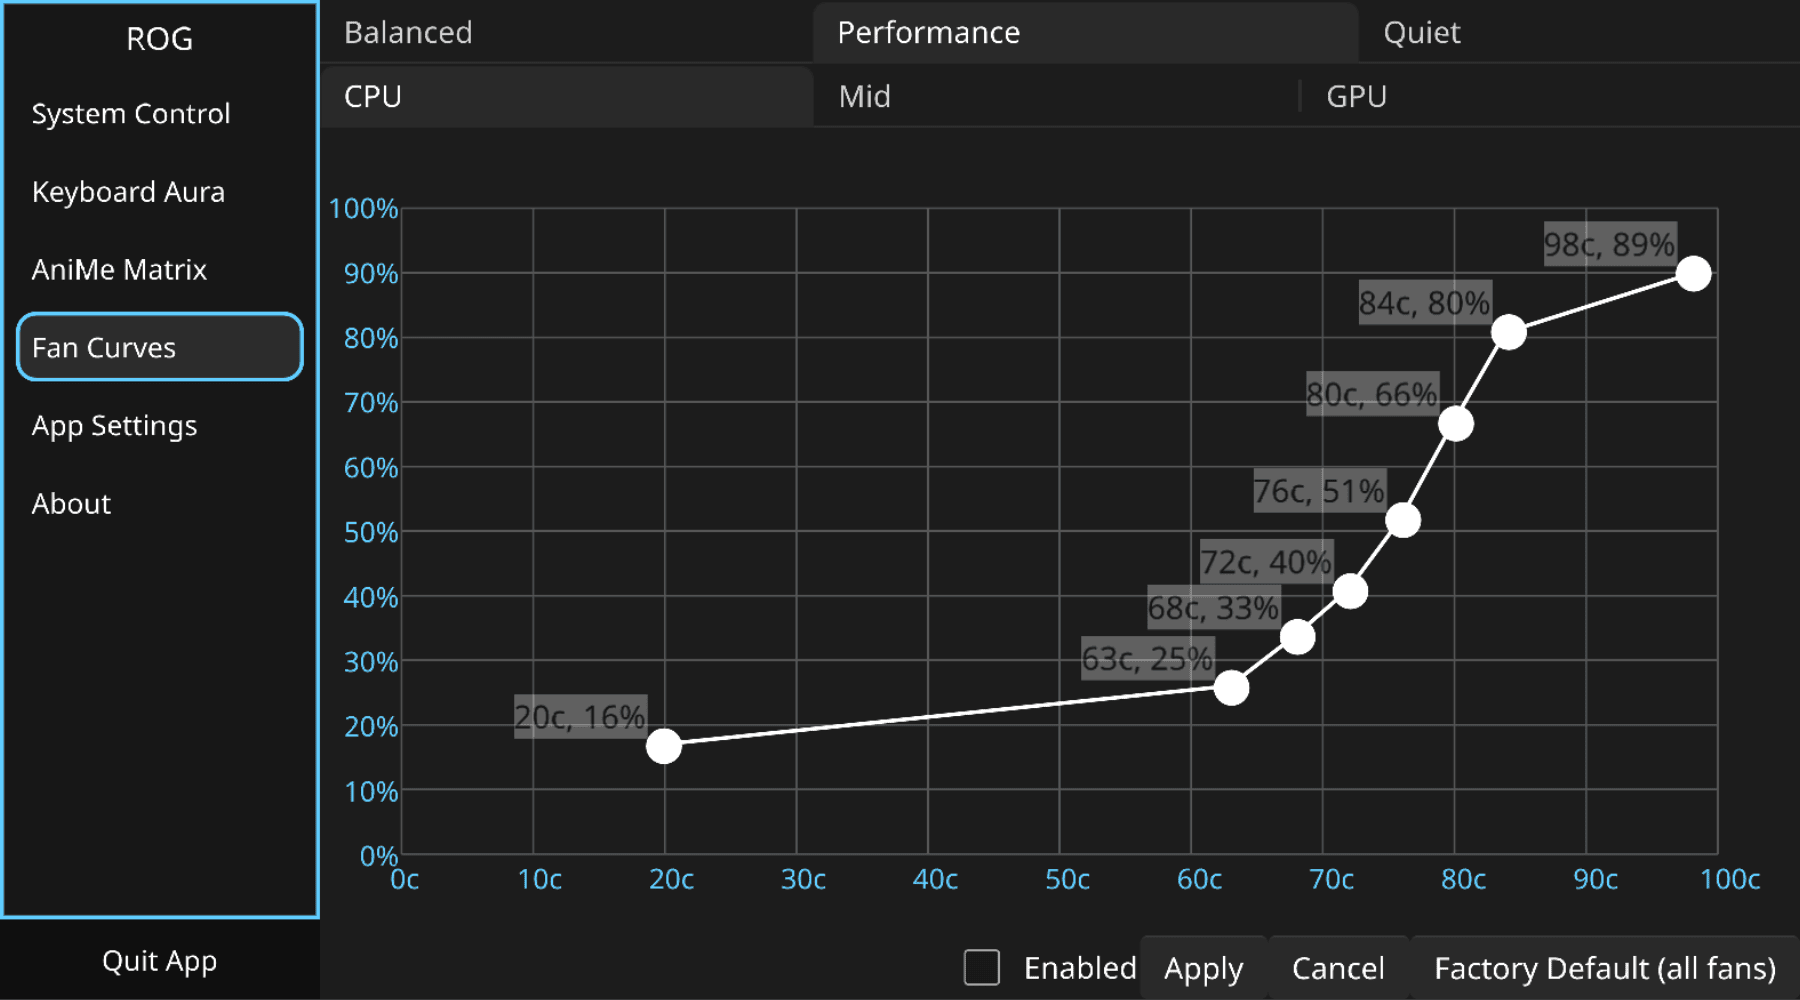
The optional ROG Control Center GUI tool can be installed to assist with control of asusctl settings.
sudo zypper in asusctl-rog-gui
Graphics Switching
See GPU Switching for how to manage the dGPU and MUX on ASUS laptops, including Cardwire.
Cardwire is not yet packaged for openSUSE, so it must be built from source; see its documentation.
If you still require VFIO for virtual machines, supergfxctl remains available from the official Tumbleweed repositories:
sudo zypper in supergfxctl
sudo systemctl enable --now supergfxd
Optional Steps
Enabling ZRAM
Unlike Fedora, zram is not enabled by default. The zram-generator package can be installed to set up and use zram instead of traditional swap. The Arch wiki’s guide on zram can be used as a reference. The steps below set up zram with a common default configuration and one additional option:
-
Ensure zswap is disabled to avoid conflicts with zram. The process can be found on the Arch wiki.
-
Install zram-generator to handle zram creation:
sudo zypper in zram-generator
-
Create a zram configuration file at one of zram-generator’s expected locations, such as
/usr/lib/systemd/zram-generator.conf. -
Edit the newly created configuration file.
-
Default configuration: add the following to the configuration file:
[zram0]
zram-size = min(ram, 8192)
- Optionally, the
compression-algorithmparameter can be added to specify the compression algorithm used by zram. If it is not set, the kernel’s default algorithm is used.
compression-algorithm = zstd
-
Reboot the system.
-
Verify zram was added by using the
zramctlorswaponcommands. Azram0item should be present.
Open Build Service
The Open Build Service (OBS) is a service that supports community-maintained packages. The openSUSE wiki has instructions on how to add some popular repos from the build service, such as the latest Wine (based on Wine-HQ), games, and more.
A common recommendation is to avoid home repos in the OBS, as these repos can cause issues unless you know or trust the maintainer. Prefer the Tuatara repository for asusctl and related ASUS packages.
The OBS Package Installer (opi) is a helpful tool that allows users to search the OBS and other vendors (e.g., Packman) for specific packages. It can be used to identify what packages are available on the OBS or elsewhere, along with getting links to review them. Opi prompts the user based on matching package names and build locations it finds (there are usually multiple). The chosen repo will be automatically added by opi when installing packages.
Packman
Packman is one of the most commonly used third party repositories for openSUSE. It contains a large set of additional packages like codecs, Discord, OBS Studio, and Steam. Follow the guide on the openSUSE wiki to add the Packman repo. Be sure to follow the zypper dup step to ensure that any existing packages (from the official repos) are updated to pull from Packman. This will help prevent dependency issues. Each future zypper dup will then pull updates for the packages from Packman instead.
The opi tool can be used to install multimedia codecs directly from Packman. This is an alternative to running the zypper commands manually. Adding the Packman repo prior to opi codecs may result in the Packman repo being added twice. This occurs if the alias used is not what opi expects (e.g., “packman” versus “Packman”). If this happens, one repo can be deleted through the method to remove the installation ISO repository (earlier in this guide).
Flatpaks
Flatpaks also solve some of the issues with the lack of software available in the openSUSE repositories. They also provide the benefits of containerized applications. Flatpak may be automatically installed with the default installation settings, but the Flathub repo may need to be added. More information is available on the openSUSE user documentation project.