Ultramarine Setup Guide
A friendly guide for setting up Ultramarine on ASUS laptops
Newcomers should start by reading the Intro guide.
For general Ultramarine setup and usage information, see the official Ultramarine guide.
Warning
This guide is maintained by the community. If you find an issue with the Ultramarine documentation, please contribute a fix or report it to the community.
Contents
About Ultramarine Versions
This guide is written for the current stable release of Ultramarine. Ultramarine is based on Fedora and follows the same release pattern.
You need to keep Ultramarine up to date. If you are two versions behind, your operating system is no longer supported with updates or security fixes.
For example, if Ultramarine 44 is the current stable release, Ultramarine 42 is unsupported.
Post-Installation
Follow the Ultramarine post-installation guide for useful steps such as installing NVIDIA drivers.
Setup
Asusctl
This section covers installing asusctl and its supporting software. It enables controls for ASUS ROG hardware on the laptop.
sudo dnf install asusctl
Important
Power profiles:
asusdmanages platform profiles and CPU EPP settings itself via the ACPIplatform_profileinterface. Running an external power profiles daemon (such aspower-profiles-daemonortuned) alongsideasusdcan cause race conditions over/sys/firmware/acpi/platform_profileand CPU EPP preferences. You have two options:
- Let
asusdmanage profiles and disable the external daemon. Since Ultramarine is Fedora-based,tunedis the default power profile daemon. Note that KDE Plasma’s PowerDevil can respawnpower-profiles-daemonthrough DBus activation even after it is disabled, so be sure to mask it instead:sudo systemctl mask --now power-profiles-daemon.service # or, if you use tuned: sudo systemctl mask --now tuned.service tuned-ppd.service
- Keep the external daemon and disable
asusd’s profile management by setting the following tofalsein/etc/asusd/asusd.ron:change_platform_profile_on_ac: false, change_platform_profile_on_battery: false, platform_profile_linked_epp: false,A common way to switch profiles is binding the
Fn+F5key toasusctl profile nextAvailable profiles vary by system, seeasusctl profile list.
ROG Control Center
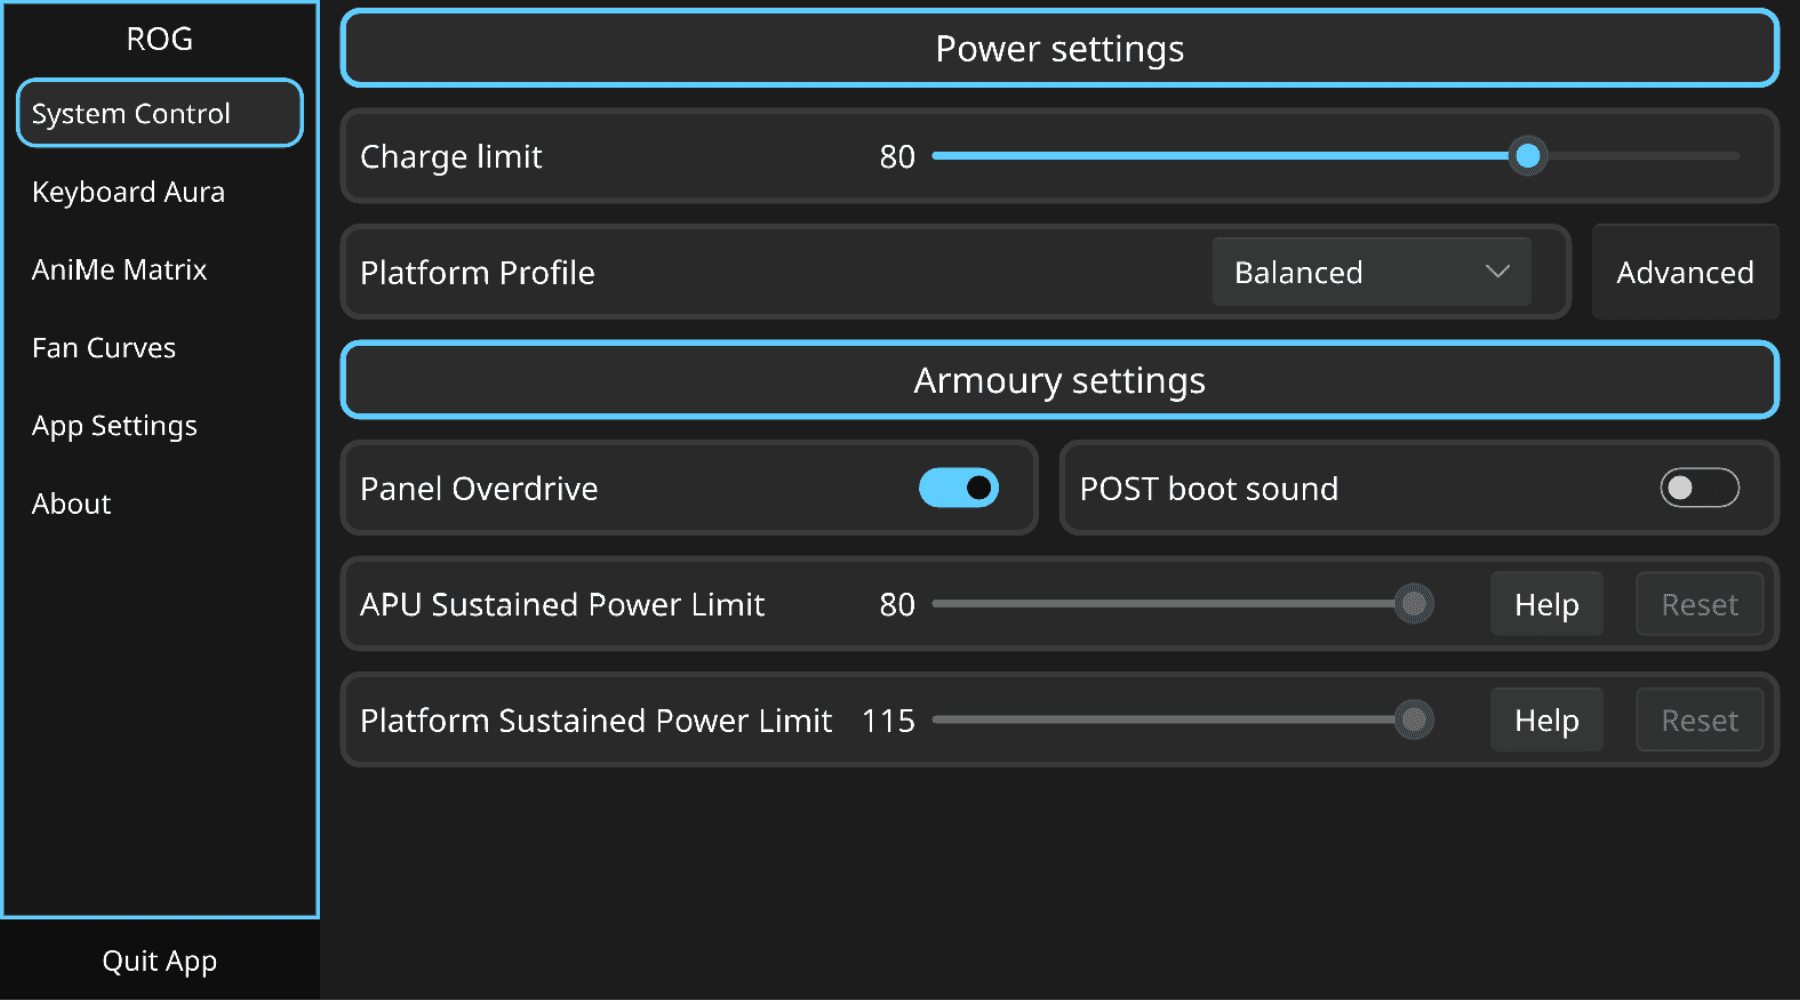
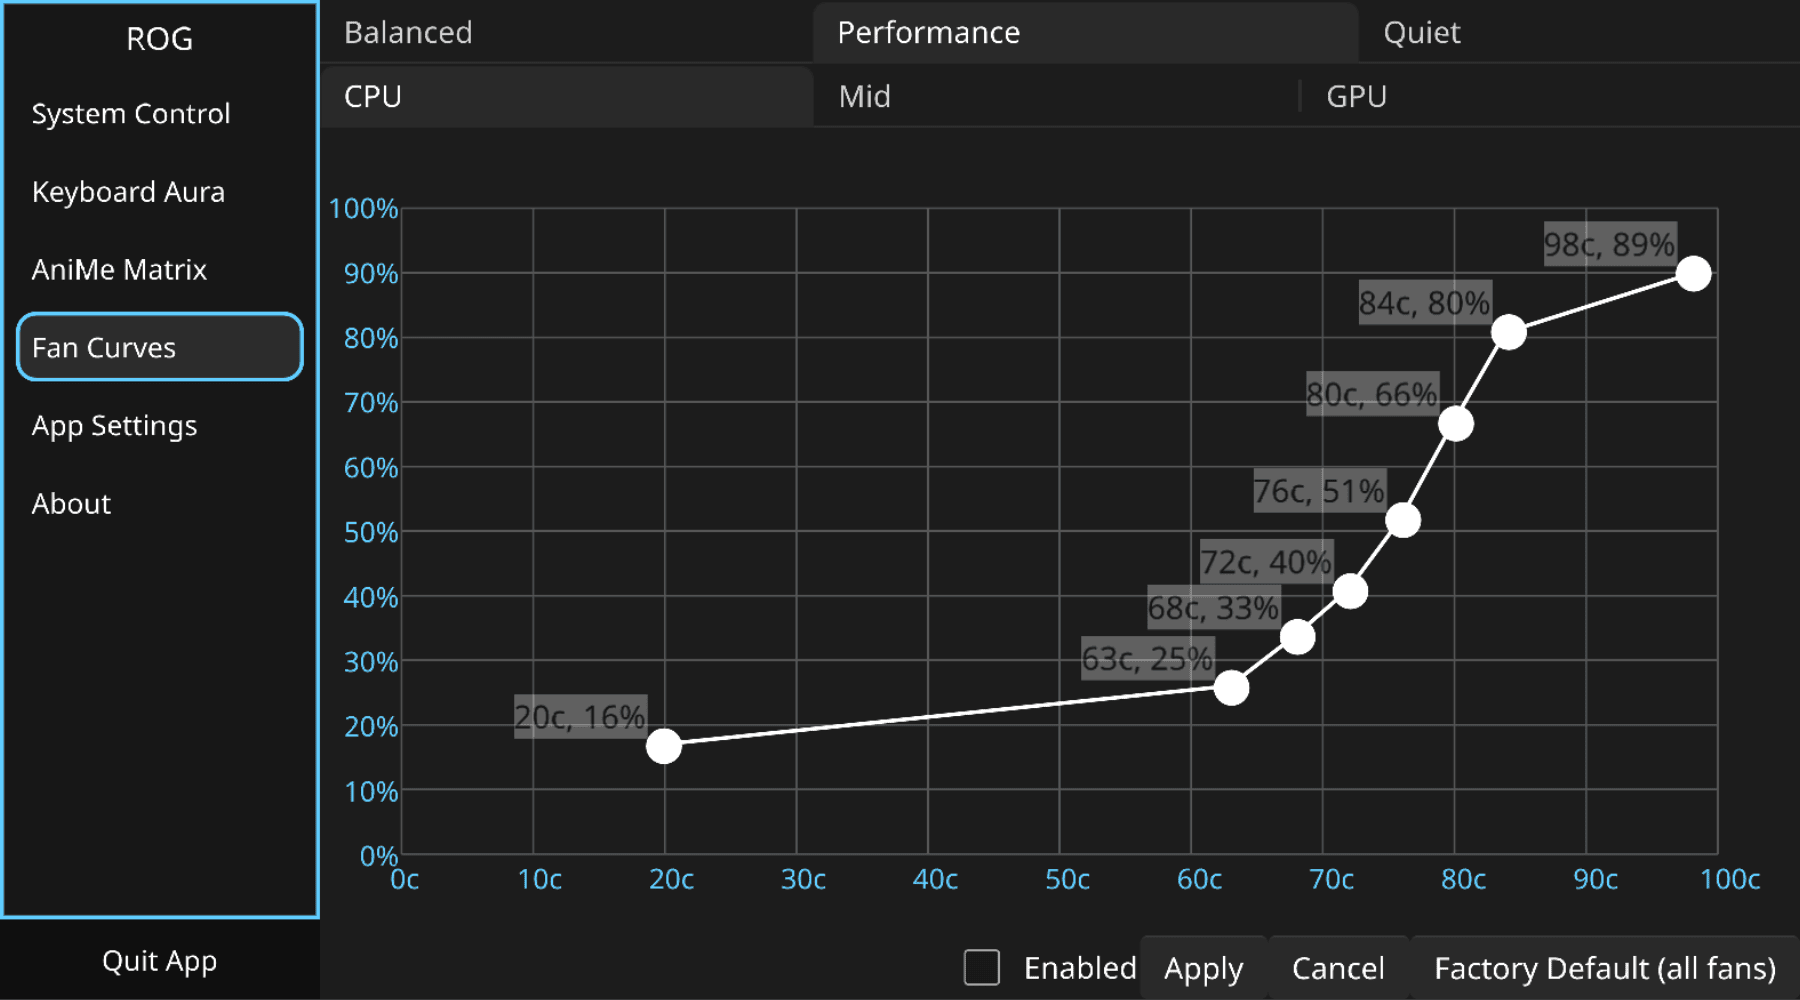
ROG Control Center is a GUI tool for configuring some aspects of asusctl. It is available as a separate package:
sudo dnf install asusctl-rog-gui
Reboot after installing asusctl:
sudo systemctl reboot
Note
ASUS releases new products every year, so not every device is guaranteed to work with the current Fedora kernel. Depending on your device, you may need a kernel with newer ASUS patches, such as the ASUS Armoury driver available in Linux 6.19 and later, or the CachyOS kernel. This is optional and depends on your device and needs.
Graphics Switching
See GPU Switching for how to manage the dGPU and MUX.
Optional Steps
Enabling Secure Boot
The recommended and easiest way to sign the kernel, whether you switched to systemd-boot, installed NVIDIA drivers, or changed the kernel, is to use sbctl.
CachyOS Kernel
Note
Newer devices may require a custom kernel with additional patches. The CachyOS kernel includes newer patches and can be tried if the stock kernel does not support your device properly.
Install CachyOS Kernel
Ultramarine provides umcli to simplify switching to the CachyOS kernel:
um tweaks enable cachyos-kernel
Note
If Secure Boot is enabled, sign the new kernel with
sbctl.